Friday, December 17, 2010

Relief Painting

After messing around with masking tape, and tissue making this picture:
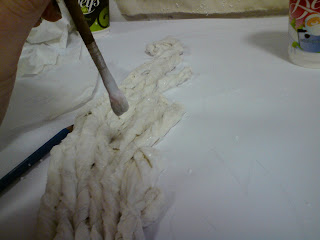
I was advised by my tutors to make a larger one, using wood glue or PVA glue along with tissue to create a relief painting. I got lots of PVA down in the storage room and proceeded:


Almost a gallon of PVA glue, a reem of (clean may I add) toilet paper and tubes of white and blue paint later, I finished my relief painting! 

It's not perfect, but you get the idea!

Wednesday, December 15, 2010

Stencil prints

Basically, I drew out a simple outline of my famous bridge onto plain card and cut out the black shape, and using this a template printed it rapidly onto plain cotton with acrylic paint and a sponge.


I attempted to dye some of the cotton blue, with well-watered down blue acrylic paint, and printed the same bridge in white paint on it. 


I also tried making a 2nd one with a different picture and ultramarine paint.


Wednesday, December 8, 2010

Little bit of research

So I'm interested in paper art, and sculptures, I decided to do a bit of research on some other artists along that line. Pamela let me borrow a book and told me about Matt Shlian and Yuko Nishimura, which are amazing sculptors! Their works are out-of-this-world amazing!

(mattshlian.blogspot.com and http://yukonishimura.com/works-en.php)
 by Matt Shlian


I also came across this artist called Chris Burden who makes models of bridges out of meccano! 

Sunday, December 5, 2010

In the middle of making a bridge

After a tutorial with Giordana last Monday, I was strongly advised to make more 3D work. So, I found a large sheet of polystyrene in studio 2, and kind of borrowed it.
Using a stanley knife I cut out little bricks out of the polystyrene.


Then I borrowed a glue gun from the storage room and glued the bits together to make the front of the bridge. 

That's how far I've got with that bridge so far